X2Support/Service
Sometimes things need fixing. Support cases are the instances of support and assistance that you and your company might be involved in with your clients. Our built-in service module is the perfect platform for your teams to manage service cases to keep your existing customers satisfied.
X2Support Contents
The initial service screen displays a listing of All Cases, active and inactive. You can quickly filter out the inactive cases from your screen by un-checking the “closed” options in the “filter by status” menu in the left column. These are fast criteria for you to sort out service cases.
You can add new columns via the columns button, . Check off the columns you want to see and un-check those you don’t. The columns are also sortable if you click on their title.
Quickly reset the filters to their original state with the clear filter button,
The impact column, displays a description of the severity of the service case. The impact scale is a 1 – 4 scale with 1 being the most severe. Though, like most things in X2CRM, this is customizable and editable within the admin tab. You and your service team can use this system to prioritize cases.
Initiate a new service claim with the Create Case option. The case basics, include information about the service case, including the case contact. Start typing a contact’s name and auto suggestions will begin appearing. Alternatively if the claim is from a new contact, you can click the green plus next to the field to add a new contact.
Other information includes the origin of the claim (e.g. web, phone request, etc.), current status, severity, whether it is a subcase of a previous claim, and the service representative it is assigned to. The case details contain dropdown menus with basic case classifications, like whether it is hardware related, for instance.
Enter a subject and a description. Enter case updates, describing the next action phase of service. This is also updatable later on from the case detail view.
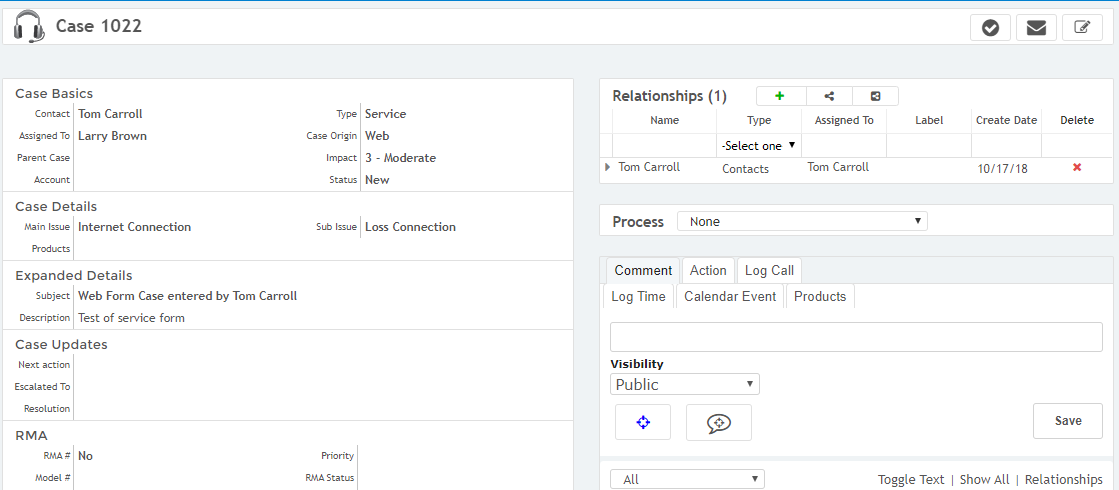
Notice in the above example there is a field for Status and then under Case Details there is a Main Issue and a Sub Issue. These fields can be used to automatically create a Similar Solutions database. Once a Case is marked “Closed - Resolved” in the Status field, X2 will store these cases and when a new case comes in and the rep clicks on the Check Box in the upper right, a pop-up window will appear and present former Closed - Resolved cases which have the same Main Issue and Sub Issue. The window will display the Case # and what the Resolution was. When a service rep closes a case if they pay attention to a good description of what the Resolution was this will help in resolving future cases by the ability to display that within the Similar Solutions capability. See below for a sample of this.

Similar Solutions allow the service reps to build an in-house knowledge base on past service cases resolved by just making sure they provide a good description of the solution to the issue. The categories for Main Issue and Sub Issue can be customized to meet your companies business within the Admin section of X2.
The Create Web Form module allows you to quickly and easily create a custom online service request form with no coding required.
The settings, highlighted in green, allow you the visual customization necessary to integrate a streamlined web form into the theme of your site. Automatically add tags that will become associated with all the cases created via the web form.
Customize the form. The red box in the middle of the page highlights the visual modification system. Drag and drop field items from the field menu. You can sort and rearrange the form options with simple mouse dragging. Set whether the field is required and its placement in the form. Preview the form and make sure its up to your standards.
Shown in the blue box, you may also quickly name and save the form template for further future customization and usage within different contexts.
Finally, grab the embed code, shown in the purple box, to copy and past it into your website.
Not finding the answers you need or want more information? Just fill out the form and we will contact you!