Email Configuration
Email Client Settings: Configure timeout settings for IMAP functionality in the email client.
Default Email Delivery Method: There are two options for sending methods: Sendmail and SMTP. Sendmail requires no additional set up. The SMTP option requires that you specify a hostname, port, security protocol, and an authentication.
Bulk Email Settings: The ‘send as’ option brings up a drop down menu allowing you to set the default sending address for bulk email. The ability to connect an external mail service such as Gmail or Yahoo mail is available under manage apps within the profile menu Set details like sender name and the default batch email sending address. Place a soft limit on amount of bulk emails sent within a interval. Finally, decide what the bulk email signature will be.
Email Signature Settings: Choose whether to use a global email signature or allow users choice of signature.
Notification Email Settings: This is a parameter for email announcements and notifications within X2CRM. Sometimes a user is sent an email notification of an event, e.g. a high profile web lead currently viewing your pricing page. Here you can stipulate what the email address will be that sends them that notification.
Service Case Email Settings: When a client submits a service case request, they are automatically sent a response email. Here you can specify all sorts of details about what and who from that message will be.
Web Lead Response Email Settings: When a new web lead comes in via a web form, they can be automatically tagged and added to a newsletter list for instance via a workflow, and they can also immediately be sent a follow up email. Set the default sender address for web lead responses.
X2Workflow Email Settings: Determine whether you want emails sent within an X2Workflow to respect the “Do not email” settings.
“Do Not Email” Link Configuration: Create the text for the “Do not email” link and the display page when the “Do not email” is clicked. X2 allows the email recipient to choose a category to unsubscribe or unsubscribe from all. By placing “(PLACE_OPP)” somewhere in the text will present the list of categories to unsubscribe from. You can design how you want the page to look via this editor. To view how this page will look to the recipient view it in the Web Forms for Contacts section under Marketing.
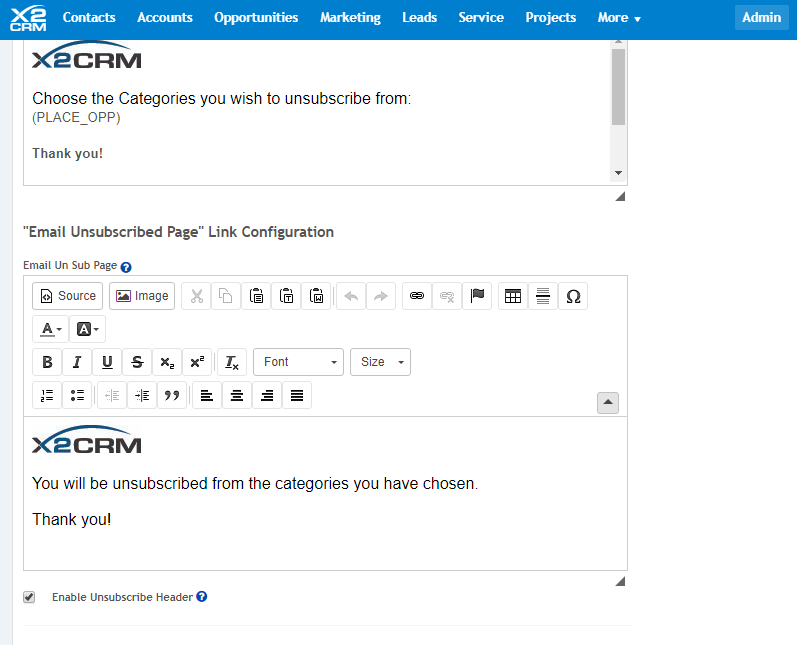
“Email Unsubscribed Page” Link Configuration: Create the text that will be displayed once a recipient clicks on the the unsubscribe. Notice images may be used in this message.
In addition, there is a box to check to enable “unsubscribe” entirely.
The Email Capture settings, highlighted in the red box, break down as follows:
Email Capture Address is the address to set as the sender when dispatching error notification emails. By default, if left blank, the email dropbox will use the first addresses in the To: or CC: field that contains “dropbox@”.
The Create Contacts from Emails setting, if disabled, will cause the dropbox to ignore any emails that are to or from addresses not matching any contacts in X2CRM. If enabled, new contacts will be created automatically using name info contained in the email.
Subsequently, the setting for Creating Contacts When First and Last Name are missing, if enabled, will cause the email dropbox to create a new contact record associated with a new unique email address even if the first and last name cannot be found in the email. If disabled, it ignores all email that does not contain contacts’ first and last names. This setting has no effect if “Create contacts from emails” is disabled.
Zap Line Breaks, if enabled, will cause the mail parser (when extracting the body of an email) to attempt to clear the text of artificial line breaks induced by RFC email format specifications (which limit lines to 78 characters). If disabled, the email parser will not do this.
Finally, Enable Logging, if enabled, will cause the email dropbox to record email capture events in a log file in protected/runtime. This option is useful for troubleshooting but will take up some extra disk space on a system that captures a high volume of emails.
Create Email Campaign will take you to the Create Campaign screen within the Marketing module.
Manage Campaigns simply takes you to the All Campaigns screen within the Marketing module.
Convert Template Image: Fix dead image links in email templates resulting from the 5.2/5.3 media module change.
Google Integration: Configure and enable Google integration.
Twitter Integration: Enter your Twitter app settings for Twitter widget.
Jasper Server Integration: Enter your Jasper Server settings for external reporting.